> For the complete documentation index, see [llms.txt](https://helper.docs.sirdata.net/llms.txt). Markdown versions of documentation pages are available by appending `.md` to page URLs; this page is available as [Markdown](https://helper.docs.sirdata.net/english/sirdata-analytics-helper-1/case-of-ga-tags-in-gtm-without-cookieless-feature.md).
# Case of GA tags in GTM WITHOUT cookieless feature
Setting up Google Tag Manager to enable proxying WITHOUT the Helper's cookieless tracking feature.
For a Google Analytics 4 (GA4) via GTM setup, the basic procedure consists of creating variables as explained below.
{% hint style="info" %}
Universal Analytics has been permanently shut down by Google (standard properties: July 1, 2023; UA 360: July 1, 2024). This page only covers GA4.
{% endhint %}
{% hint style="danger" %}
WARNING: the purpose of proxyfication is to prevent direct identification of the user by the American intelligence services, or indirect via access to data obtained from Google.
The very principle of this service is therefore to break the direct link between Google Analytics and all the other Google services.
If you measure the effectiveness of Google Ads advertising via Google Analytics, or if you share remarketing audiences, you must make arrangements to work differently because these features will not work.
For example, you may consider using Google Ads pixels or tags (remarketing and/or conversion measurement) if you believe their use is compliant.
{% endhint %}
{% hint style="info" %}
If in doubt, do not hesitate to ask our teams to perform these tag settings for you.
{% endhint %}
{% hint style="warning" %}
Remember to declare your property identifiers (or not declare any) in your Analytics Helper console, otherwise the Pings Analytics that will pass through the proxy will be blocked.
{% endhint %}
## 1) Proxy Settings
WARNING: before proceeding below, please make sure that you have **unchecked** the “Activate cookieless mode” box in the Helper portal ().
Go to “Configuration” / “Edit information” / uncheck “Activate cookieless mode”
## 2) Variables
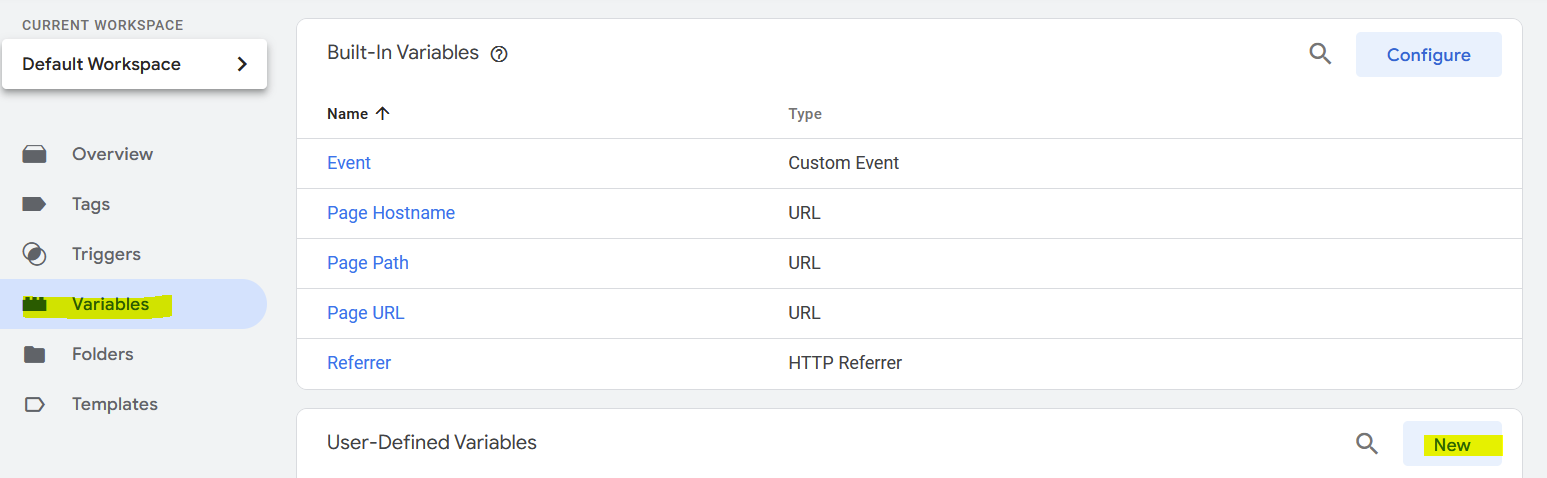
To get started, go to the “Variables” section of GTM.
### a) "Helper partner Id" variable
Click on “New” to create a “User-defined variable”:
* Name this variable “Helper Partner Id” or otherwise
* Choose the “Constant” variable type
* In the “Value” box, enter your “partner\_ID” (find it in your account)
* Save
Creation of the "Helper partner ID" variable with the example partner_ID 1020
### b) "Helper Conf Id" variable
Click on “New” to create a “User Defined Variable”:
* Name this variable “Helper Config Id” or otherwise
* Choose the “Constant” variable type
* In the “Value” box, enter your “config\_ID” (find it in your account)
* Save
Creation of the "Helper Conf Id" variable with example config_ID 53
### c) "Google Tag: Configuration Settings" configuration variable
If you use or plan to use GA4 via GTM, then click on “New” to create a “Utilities Variable”:
* Name this variable “GA4 Configuration” or something else
* Choose the variable type “Google Tag: Configuration Settings”
* Expand the “Config Parameter” section with 4 lines
* Enter “server\_container\_url” in the first field (“Config Parameter”) of the first line, and enter “ in the second field (“Value”)
* Enter “send\_page\_view” in the first field (“Config Parameter”) of the second line, and enter “true” in the second field (“Value”)
* Enter "sah\_pa” in the first field (“Config Parameter”) of the third line, and select the “Helper Partner Id” variable you created in 2) a) in the second field (“Value”)
* Enter "sah\_c” in the first field (“Config Parameter”) of the fourth line, and select the “Helper Conf Id” variable you created in 2) b) in the second field (“Value”)
## 3) GA4 Tag
Go to the “Tags” section and click on “New” or select your existing GA4 tag if you have already created one.
"Tags" section
Then configure the tag like this:
* Name this new tag “***Google Analytics Configuration GA4***” or otherwise
* Choose the “Tag Type” named “***Google Tag***”
* In the “Tag ID” box enter your GA4 property identifier identified in the first step (in the form G-12456789).
* Expand the “***Configuration settings***” section
* Select the "GA4 Configuration" variable you created in 2) c) in the "Configuration Settings Variable" field
* Finally, in the last section “Trigger”, keep your existing trigger or select “All Pages” for example
* Save
Use this configuration for GA Events tracking.
Repeat this step if you want to create another GA4 tag, then publish your container to complete the activation of Sirdata Analytics Helper.
Well done!
{% hint style="info" %}
*If in doubt, don't hesitate to ask Sirdata's experts to configure your Tag Manager for you.*
{% endhint %}